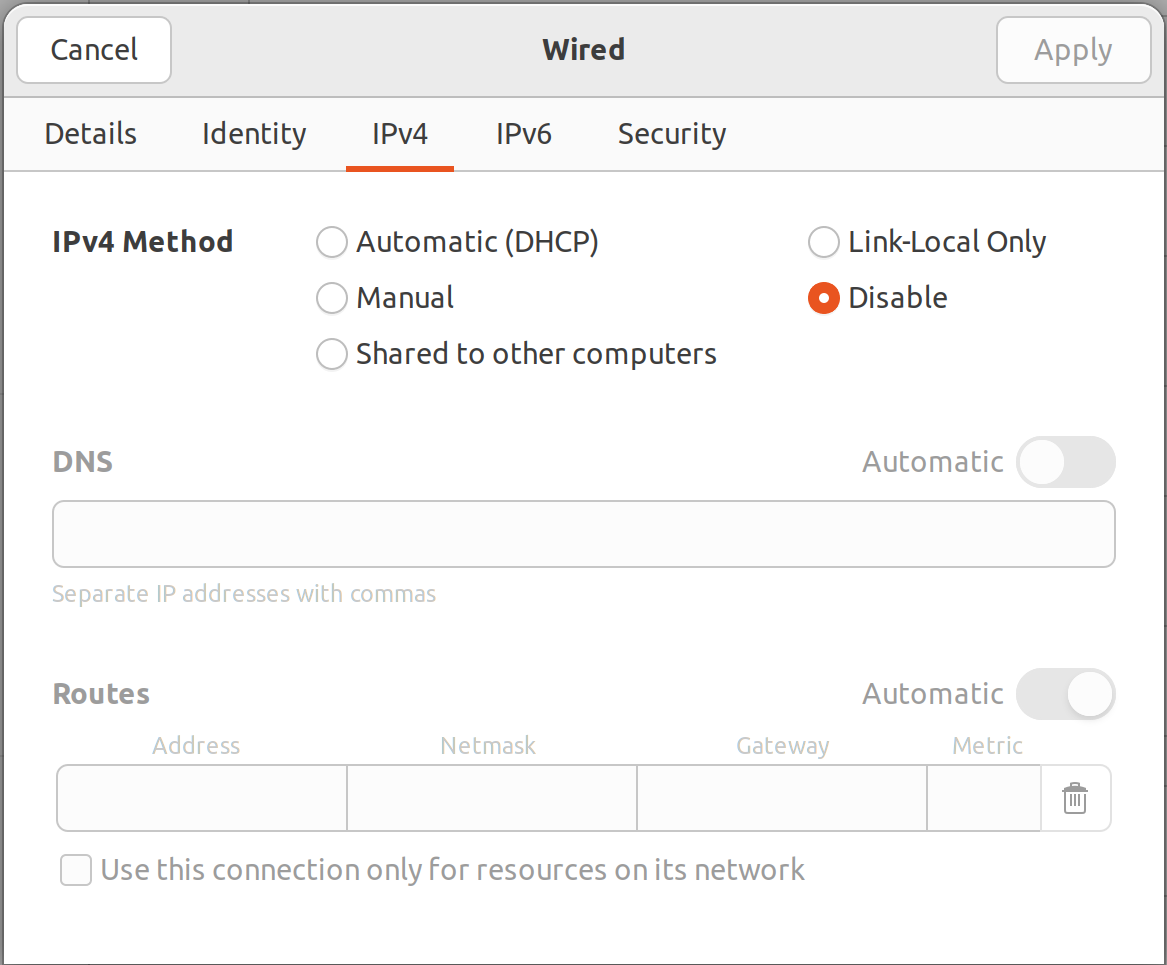
Want to be among leading engineers testing IPv6 protocol by disabling IPv4 completely for your PC or laptop but keeping access to obsoleted IPv4 based Internet?

That's pretty simple and can be accomplished by using NAT64.
I'll use Debian 12 on my SBC board as server and Ubuntu 22.04 as client.
First of all you will need to install your own Recursive DNS server. You may use cloud DNS offerings for NAT64 but you still need server for NAT translations and there are no reasons to leak your personal browsing to companies and countries with weak data protection policies.
I used Unbound for my setup and you can use any other guide.
To enable DNS64 you just need to make few configuration changes for module config:
module-config: "dns64 validator iterator"
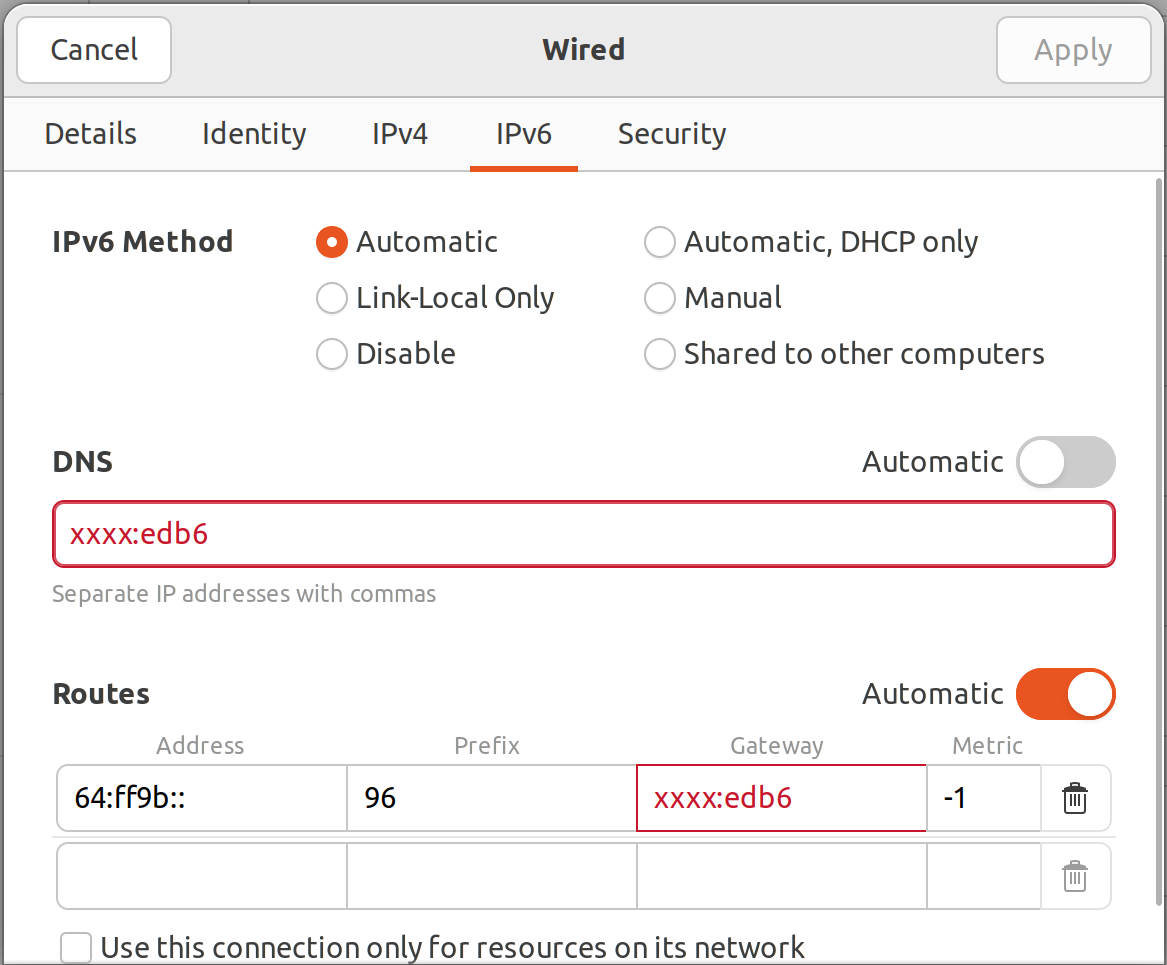
And then manually add prefix for DNS64:
# DNS64 prefix for NAT64:
dns64-prefix: 64:ff9b::/96
sudo apt install -y tayga
Configuration is relatively easy too:
sudo vim /etc/tayga.conf
And then add following (you will need to replace xx by actual IP addresses of your NAT64 server):
tun-device nat64
# TAYGA's IPv4 address
ipv4-addr 192.168.1.xx
# TAYGA's IPv6 address
ipv6-addr XXXX
# The NAT64 prefix.
prefix 64:ff9b::/96
# Dynamic pool prefix, not clear what is it
dynamic-pool 192.168.255.0/24
# Persistent data storage directory
data-dir /var/spool/tayga
Then apply configuration and enable auto-start:
sudo systemctl restart tayga
sudo systemctl enable tayga
echo -e "net.ipv4.ip_forward=1\nnet.ipv6.conf.all.forwarding=1" | sudo tee /etc/sysctl.d/98-enable-forwarding.conf
And then apply these changes:
sudo sysctl --system
Then create iptables rules for NAT:
sudo iptables -t nat -A POSTROUTING -o nat64 -j MASQUERADE
sudo iptables -t nat -A POSTROUTING -s 192.168.255.0/24 -j MASQUERADE
sudo apt install -y iptables-persistent
No comments :
Post a Comment
Note: only a member of this blog may post a comment.