FastNetMon

Saturday 31 December 2022

NAT64 on Debian 12 Bookworm box

Want to be among leading engineers testing IPv6 protocol by disabling IPv4 completely for your PC or laptop but keeping access to obsoleted IPv4 based Internet? 


That's pretty simple and can be accomplished by using NAT64. 

I'll use Debian 12 on my SBC board as server and Ubuntu 22.04 as client. 

First of all you will need to install your own Recursive DNS server. You may use cloud DNS offerings for NAT64 but you still need server for NAT translations and there are no reasons to leak your personal browsing to companies and countries with weak data protection policies. 

I used Unbound for my setup and you can use any other guide.

To enable DNS64 you just need to make few configuration changes for module config:

module-config: "dns64 validator iterator"

And then manually add prefix for DNS64:

# DNS64 prefix for NAT64:

dns64-prefix: 64:ff9b::/96

Then you need to install Tayga and configure it.

Install is simple:
sudo apt install -y tayga

Configuration is relatively easy too:

sudo vim /etc/tayga.conf 

And then add following (you will need to replace xx by actual IP addresses of your NAT64 server):

tun-device nat64

# TAYGA's IPv4 address

ipv4-addr 192.168.1.xx

# TAYGA's IPv6 address

ipv6-addr XXXX

# The NAT64 prefix.

prefix 64:ff9b::/96

# Dynamic pool prefix, not clear what is it

dynamic-pool 192.168.255.0/24

# Persistent data storage directory

data-dir /var/spool/tayga

 Then apply configuration and enable auto-start:

sudo systemctl restart tayga

sudo systemctl enable tayga

This machine will work as router and we will need to enable forwarding for Linux kernel:
echo -e "net.ipv4.ip_forward=1\nnet.ipv6.conf.all.forwarding=1" | sudo tee /etc/sysctl.d/98-enable-forwarding.conf

And then apply these changes:

sudo sysctl --system 

Then create iptables rules for NAT:

sudo iptables -t nat -A POSTROUTING -o nat64 -j MASQUERADE

sudo iptables -t nat -A POSTROUTING -s 192.168.255.0/24 -j MASQUERADE 

Then I can recommend installing iptables-persistent. It will ask you to save your current confdiguration into file and you will need to confirm it:
sudo apt install -y iptables-persistent
After making all these changes I recommend doing full reboot for server to confirm that all daemons started on boot.

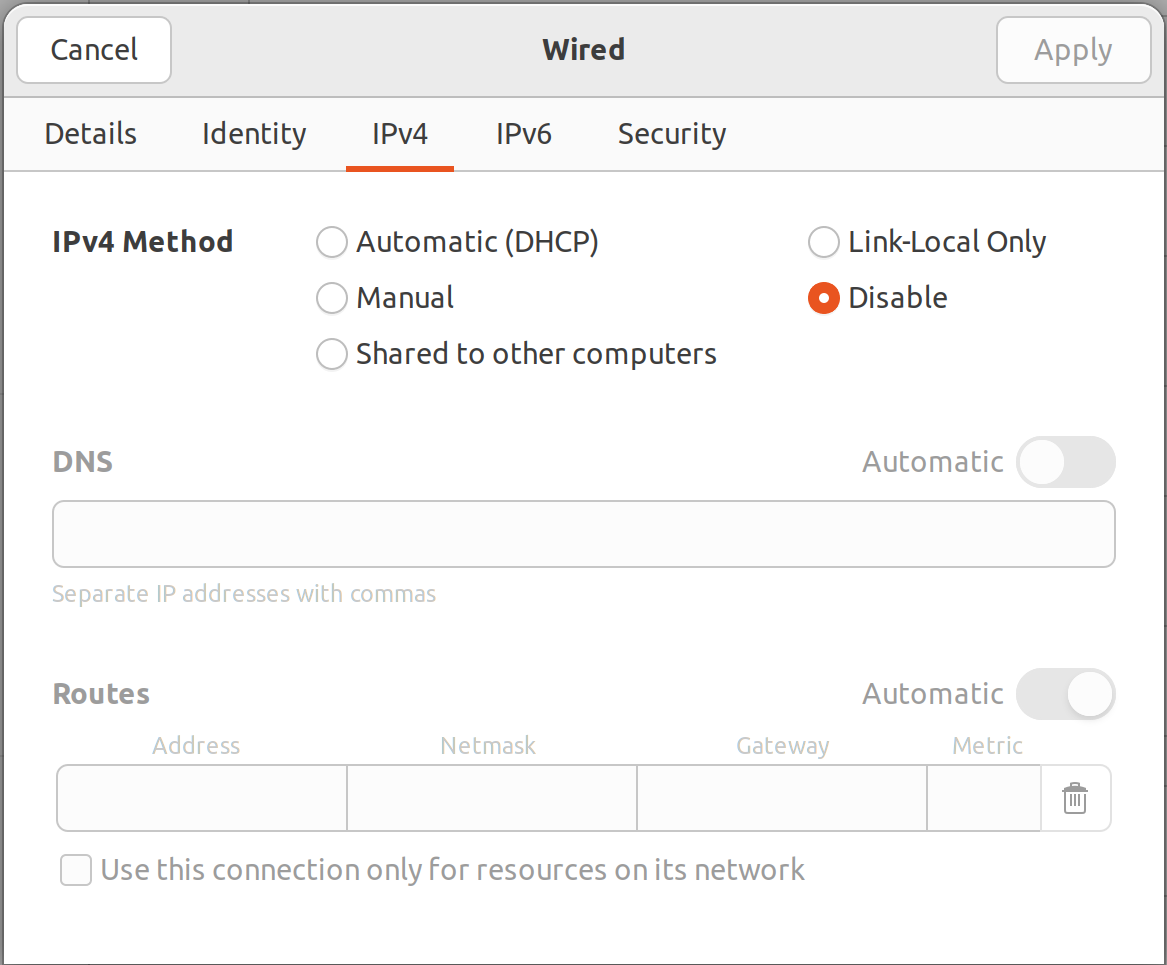
After that you need to change configuration for client machine in network manager (yes, using UI) that way:
After that you can finally try disabling IPv4 this way:


And checking access to some IPv4 only site like github.com

Congrats! You may face some issues as some apps may not work and you will need to investigate root cause and kindly ask service provider to fix it. 

My guide was based on this one.

I have reworked this article and published it on my new blog.


IPv6 friendly Unbound configuration for home DNS recursor on SBC

I recently discovered how unfriendly is Unbound configuration for Debian installations. I had to spent few hours to craft my own configuration for it and put it to /etc/unbound/unbound.conf.d/recursor.conf. 

This configuration has preference to use IPv6 for DNS lookup when possible. 

Tuesday 27 December 2022

Installing Debian 12 Bookworm RockPro64 on NVME

For few last days I've been playing with RockPro64 in attempts to install standard upstream Debian Bookworm on it using standard Debian installer and I succeeded.

To accomplish it I used custom U-Boot to run Debian installer from USB stick:

I used PCI-E adaptor for NVME WD Black SN 750 250G:


One of the main tricks was to install /boot partition on SD card this way from Debian Installer:


As you can see I used ext2 partition on SD card for /boot partition. It does not cause any performance issues and significantly simplifies our lives.

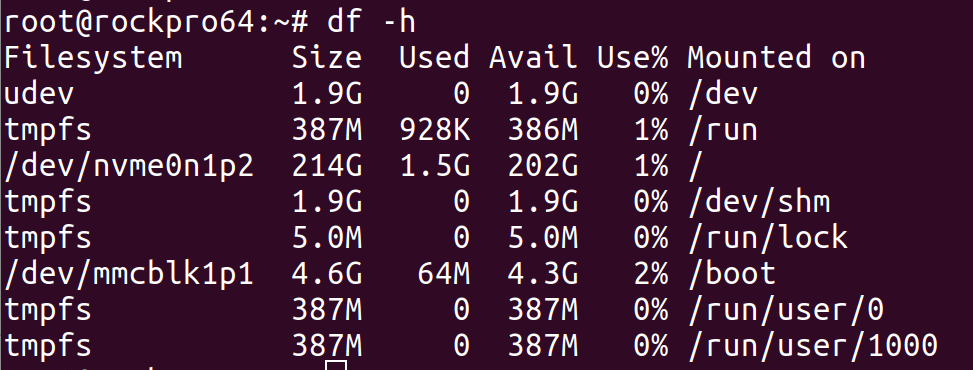
Finally, I got completely working Debian using upstream / vanilla Debian installer:


Previously I tried using U-Boot in SPI with USB boot support but it was unable to start from my USB-3 SSD / SATA disk for some reasons. I think it was some kind of issue with Debian installer as installation on USB is quite unusual and I do not blame it for failing.

Running RockPro64 from NVME is tricky too and I had no U-Boot with such capability to flesh SPI with it.

What is the point to use NVME? Look, perfornance.

Compare SD performance:
dd if=/dev/mmcblk1 of=/dev/null bs=1M count=10000 iflag=direct
10000+0 records in
10000+0 records out
10485760000 bytes (10 GB, 9.8 GiB) copied, 454.419 s, 23.1 MB/s

With NVME:
dd if=/dev/nvme0n1p2 of=/dev/null bs=1M count=10000 iflag=direct
10000+0 records in
10000+0 records out
10485760000 bytes (10 GB, 9.8 GiB) copied, 15.994 s, 656 MB/s

With SATA SSD attached via USB-3 adaptor:

sudo dd if=/dev/sda of=/dev/null bs=1M count=10000 iflag=direct
10000+0 records in
10000+0 records out
10485760000 bytes (10 GB, 9.8 GiB) copied, 32.7685 s, 320 MB/s


Boot RockPro64 from USB or PXE

By default RockPro64 can boot only from SD or eMMC card. So if you're looking for alternative options then you need to install U-Boot into bundled SPI memory using this guide.

You need to be extremely cautious and do not interrupt procedure after it started. It need around few minutes to finish.


After that you need to wait for text "SF: ... bytes @ 0x8000 Written: OK" and then wait little bit more until white led on board starts blinking with 1 second interval. It may mean that process finished. 

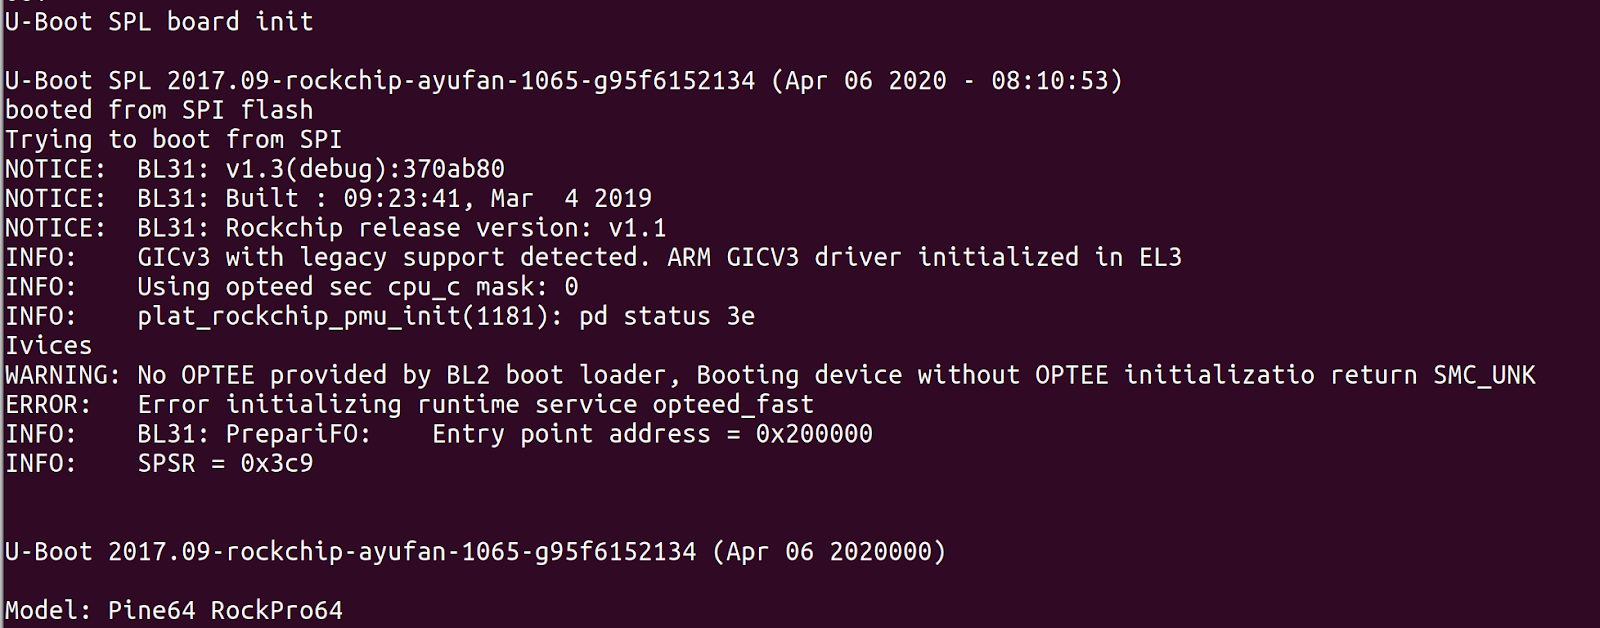
Then you can power it off and remove SDcard and start normal boot procedure and in this case it will load U-Boot from SPI memory:


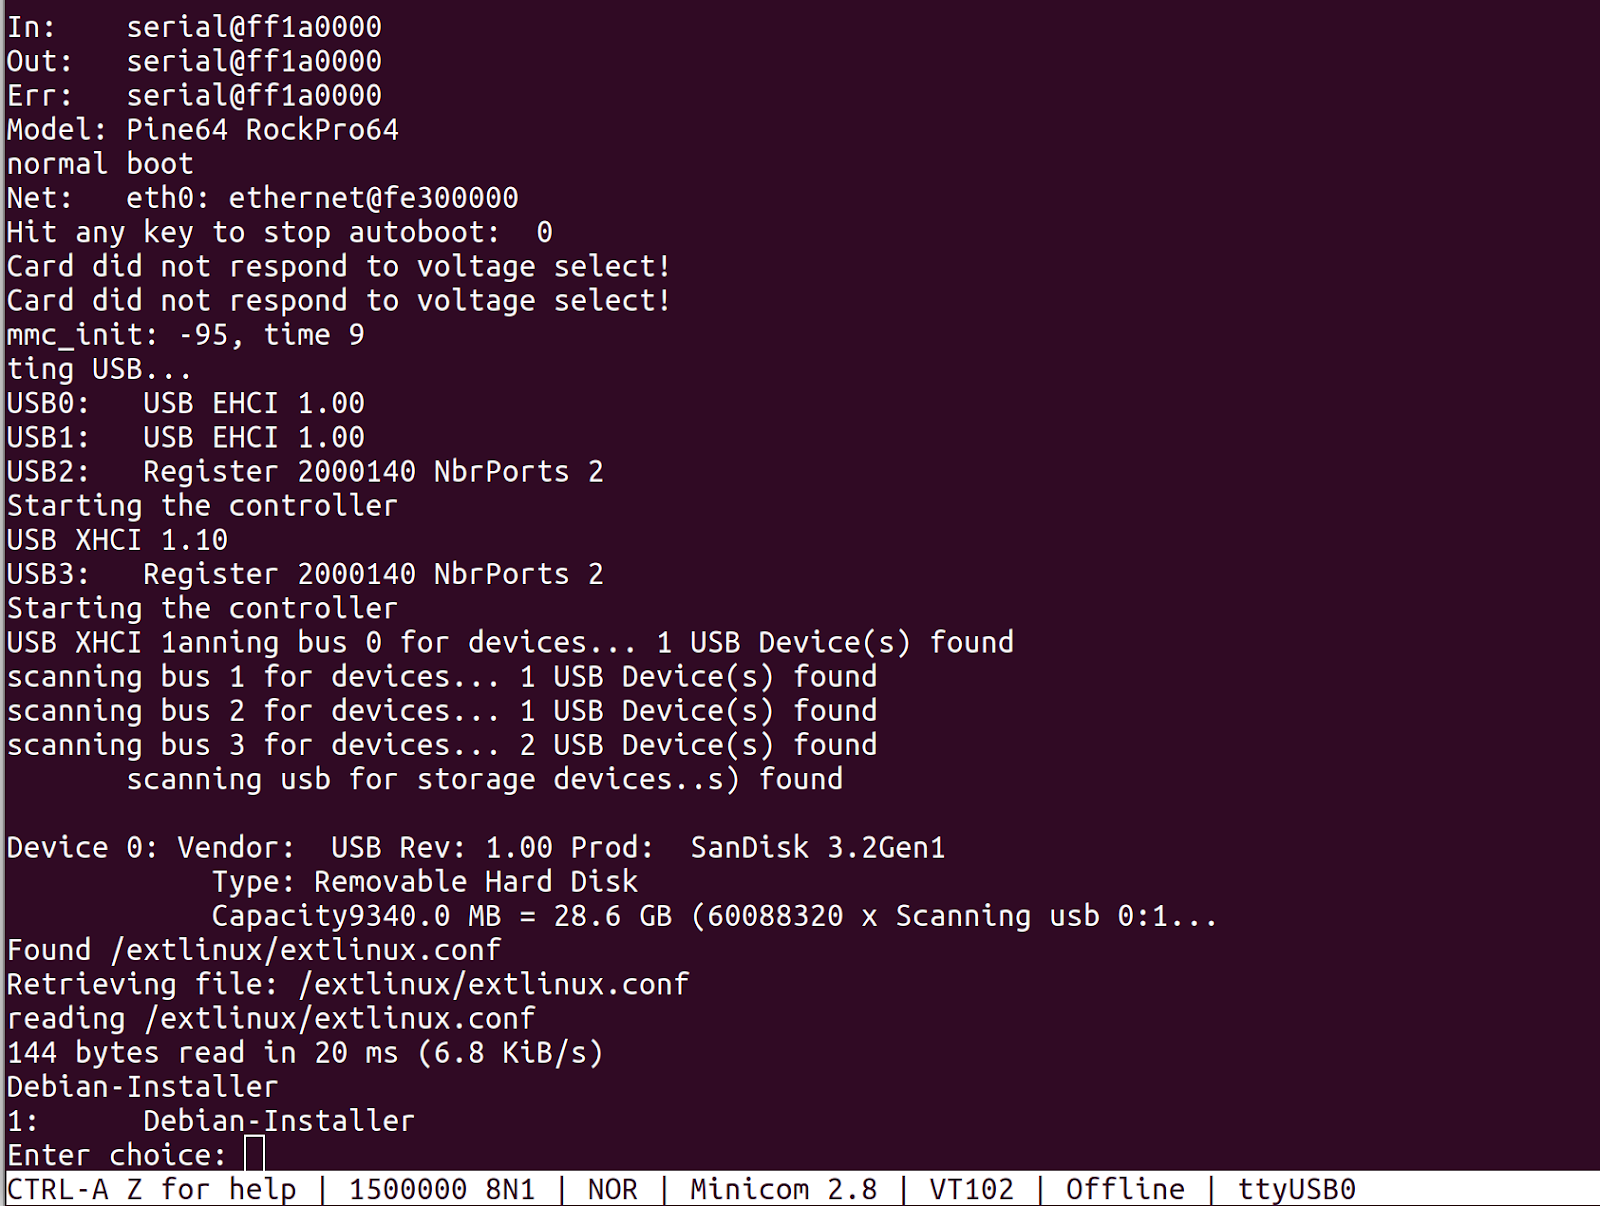
It will try checking your USB devices and then will try to boot from PXE:


You can easily check that it works fine by using bootable USB stick with Linux and it was very successful in my case:


In case of RockPro64 you can create bootable USB using official Debian images for RockPro64.

Monday 26 December 2022

Installing vanilla Debian 11 on RockPro 64 from Ubuntu 22.04

That's hard to believe but you actually can use upstream / vanilla images to install Debian for SBC RockPro 64.

NB! You can find Debian 12 Bookworm images here. More options here.

First download images from official Debian server 

wget https://d-i.debian.org/daily-images/arm64/daily/netboot/SD-card-images/firmware.rockpro64-rk3399.img.gz 

wget https://d-i.debian.org/daily-images/arm64/daily/netboot/SD-card-images/partition.img.gz

Combine them into single image:

zcat firmware.rockpro64-rk3399.img.gz partition.img.gz > complete_image.img

If you like me use USB adaptor for SD card then you need to manually umount partition from console (not from Ubuntu UI as it will unplug device).

Finally, write it on SD card:

sudo dd if=complete_image.img of=your_chosen_boot_device bs=4M

If you have relatively modern U-Boot installed into SPI you can use USB stick for installation.  

The best option to monitor boot process to have serial console enabled but installer is unusable from it and look this way:


Fortunately, at that exactly time you will have HDMI working fine and you can plug external display and continue installation. 

Also you will need proper keyboard for it. 

Based on official guide


Sunday 4 December 2022

How to create additional access_key and secret_key only for specific Google Storage bucket?

It's a great example of task which looks simple but escalates to enormous complexity.

My task was very simple: create Google Storage Bucket (Same as Amazon AWS S3) and create specific user which can upload data to it without using global system account. I needed access_key and secret_key which are compatible with s3cmd and Amazon S3.

My plan was to use this key for CI/CD system and reduce potential consequence from leaking this key.

First of all, we need to enable IAM API open link and then click "Enable the IAM API".

Then we need to create so called "Service account" which will belong to our CI/CD system. To do it open same link and scroll to "Creating a service account".

In my case link was this but it may change with time.

Then you need to specify project where you keep your bucket.

Then click "Create service account" on the bottom of page. Fill only name and do not allocate any permisisons for it. It will create service account for you in format:  xxxx@project-name.iam.gserviceaccount.com 

Then go to Cloud Storage section in your management console link 

Select your bucket, go to permissions, click "Grant Access" and in section Principals insert "xxxx@project-name.iam.gserviceaccount.com" then for Assign Roles select "Cloud Storage" on the left side and select "Storage object Admin" on right side then click Save.


We're not done. We need to create access_key and secret_key for this user.

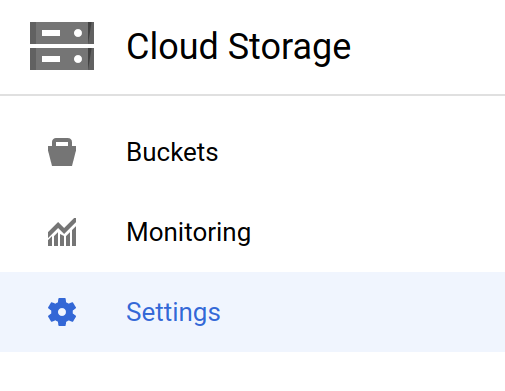
To do it open "Cloud Storage" section in console. 

On the left side click "Settings". Then on the right side click Interoperability.


Then follow to "Access keys for service accounts" and click "Create a key for another service account". In this list select our service account created previously and click create key.


Then copy both keys as they will disappear immediately after.

Then provide both keys as AWS_ACCESS_KEY_ID and AWS_SECRET_ACCESS_KEY as environment variables for s3cmd.